How to Convert a React App to Native Mobile Apps Using Capacitor.js
by Adithya Hebbar, System Analyst
Introduction
In today’s fast-paced world, mobile applications have become an integral part of our daily lives. React has emerged as a popular framework for building dynamic and responsive web applications. However, there comes a time when you may need to extend your reach to native mobile platforms like Android and iOS. This is where Capacitor.js comes in — a powerful tool that bridges the gap between web technologies and native platforms. In this guide, we’ll explore how to convert a React app to native Android and iOS apps using Capacitor.js.
What is Capacitor.js?
Capacitor is a cross-platform runtime for building web applications using familiar web technologies like HTML, CSS, and JavaScript. It enables developers to build web apps that can run natively on iOS, Android, and Electron. Capacitor provides a consistent API for accessing native functionality across different platforms, making it easier to create hybrid apps with native capabilities.
Prerequisites
Before we begin, make sure you have the following prerequisites installed:
- Node.js and npm (or yarn)
- React.js
- Android Studio (for Android development)
- Xcode (for iOS development)
- Capacitor CLI (
npm install -g @capacitor/clioryarn global add @capacitor/cli)
Steps to Convert React App to Native Mobile Apps using Capacitor.js
Step 1: Create a New React App
First, create a new React app. You can use the create-react-app command:
bash
# Using npm
npx create-react-app react-capacitor-app
cd react-capacitor-app

# Using yarn
yarn create react-app react-capacitor-app
cd react-capacitor-app
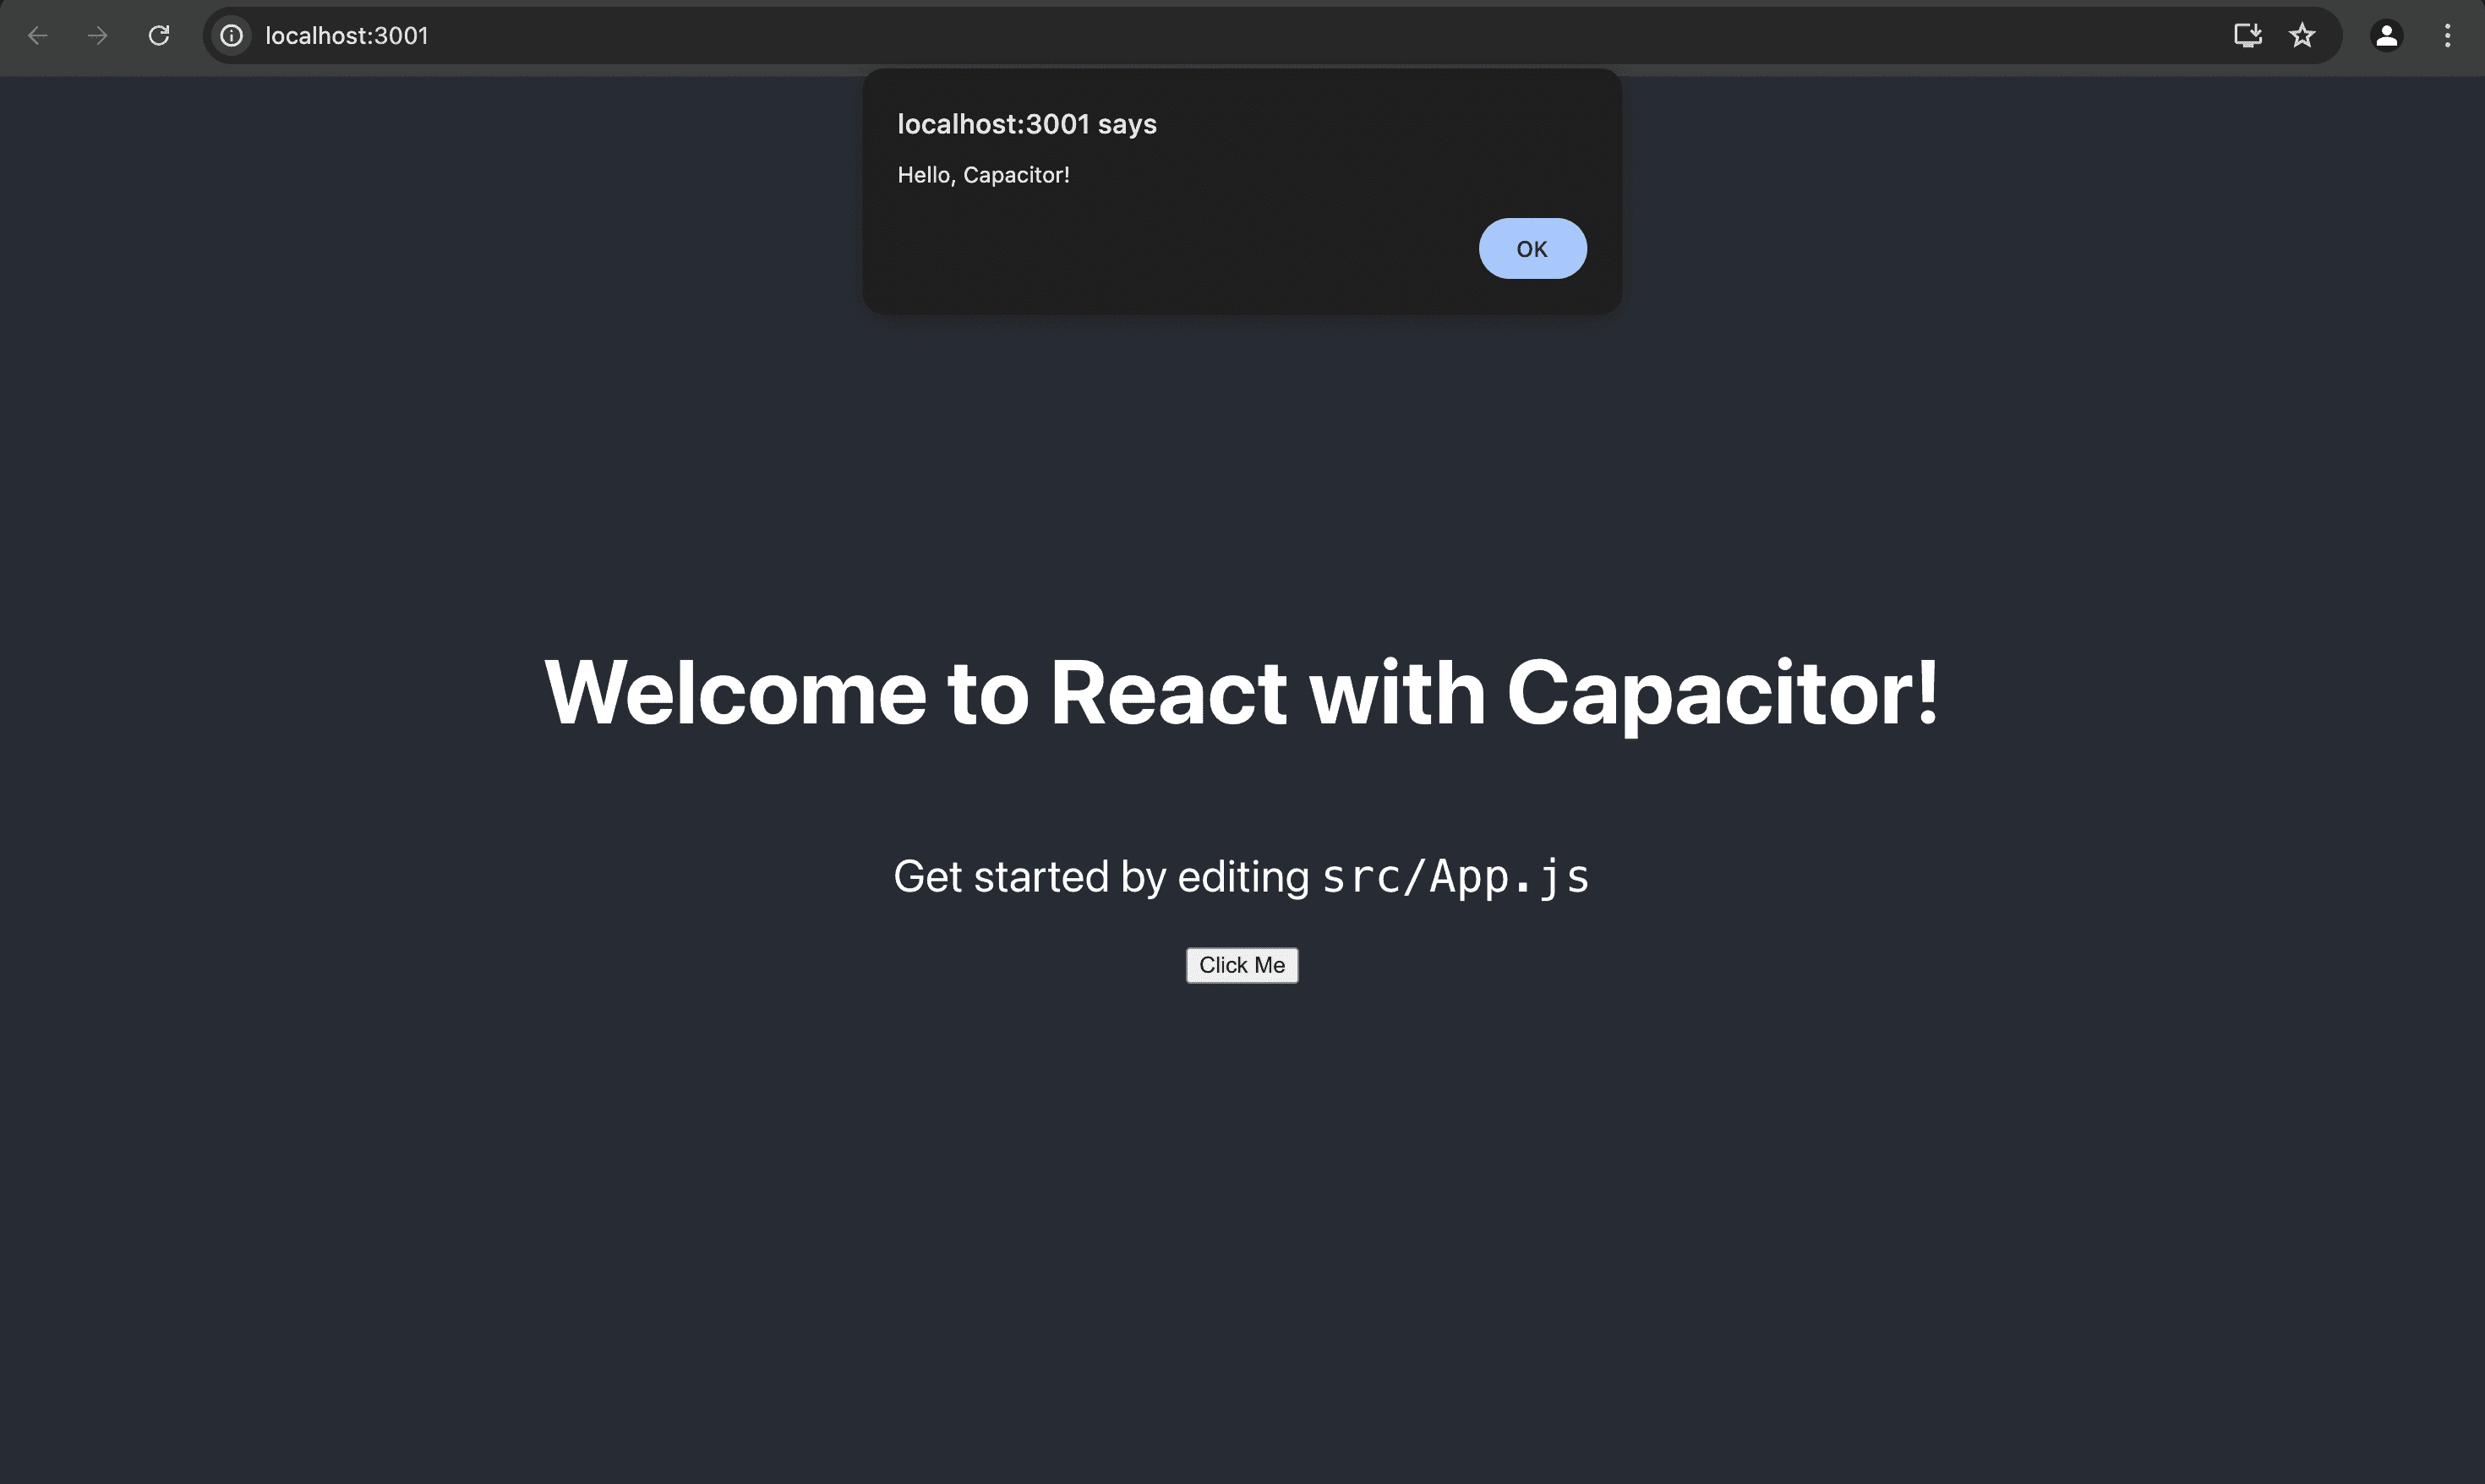
Step 2: Add a Simple Component
Next, add a simple component to your React app. Replace the contents of src/App.js with the following code:
jsx
import React from 'react'
import './App.css'

function App() {
  return (
    <div className="App">
      <header className="App-header">
        <h1>Welcome to React with Capacitor!</h1>
        <p>
          Get started by editing <code>src/App.js</code>
        </p>
        <button onClick={() => alert('Hello, Capacitor!')}>Click Me</button>
      </header>
    </div>
  )
}

export default App
Step 3: Install Capacitor
Install Capacitor CLI and core packages:
bash
# Using npm
npm install @capacitor/core @capacitor/cli

# Using yarn
yarn add @capacitor/core @capacitor/cli
Step 4: Initialize Capacitor
Initialize Capacitor in your React project:
bash
npx cap init
You will need to provide your app's name and the app's ID (e.g., com.myapp.app).
This will create a capacitor.config.ts file in the root directory
JavaScript
import type { CapacitorConfig } from '@capacitor/cli';

const config: CapacitorConfig = {
  appId: 'com.myapp.app',
  appName: 'myapp',
  webDir: 'build',
};

export default config;
Explanation:
appId: This is a unique identifier for your app, usually in reverse domain name notation. For example, if your domain isapp.myapp.com, the appId would becom.myapp.app.appName: The name of your app. This will be displayed on the device.webDir: The directory where your built web assets are located. For React, this is typically thebuildfolder.
Step 5: Install Android and iOS Platforms
Add the Android and iOS platforms to your project:
bash
# Using npm
npm install @capacitor/android @capacitor/ios

# Using yarn
yarn add @capacitor/android @capacitor/ios

npx cap add android
npx cap add ios
Step 6: Build Your React App
Build your React app:
bash
# Using npm
npm run build

# Using yarn
yarn build
Step 7: Sync Your App with Capacitor
Sync your app with Capacitor:
bash
npx cap sync
Step 8: Open Android Project in Android Studio
Navigate to the Android project directory and open it in Android Studio:
bash
npx cap open android
Step 9: Run Your App on Android Emulator or Device
In Android Studio, you can run your app on an emulator or connect a physical device and run it directly. Use the standard Android development workflow for testing and debugging your app.


Step 10: Open iOS Project in Xcode
Navigate to the iOS project directory and open it in Xcode:
bash
npx cap open ios
Conclusion
This guide has provided a detailed walkthrough of converting a React app to native Android and iOS apps using Capacitor.js. By following these steps, you can extend your React web application to both Android and iOS platforms with ease. Capacitor.js enables you to leverage your existing web development skills to create powerful, native mobile applications. Happy coding!